Assemble Meadow Board
This guide will walk you through the steps to assemble your Meadow development board to get you started.
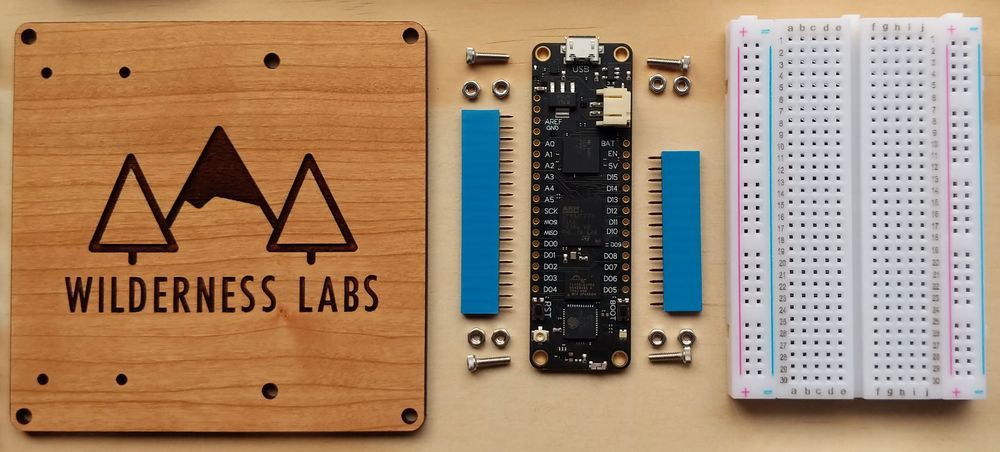
Parts
Your kit should include:
- 1 Meadow board
- 1 Wooden Wilderness Labs protoboard
- 2 Blue female header pins
- 4 Screws
- 8 Nuts
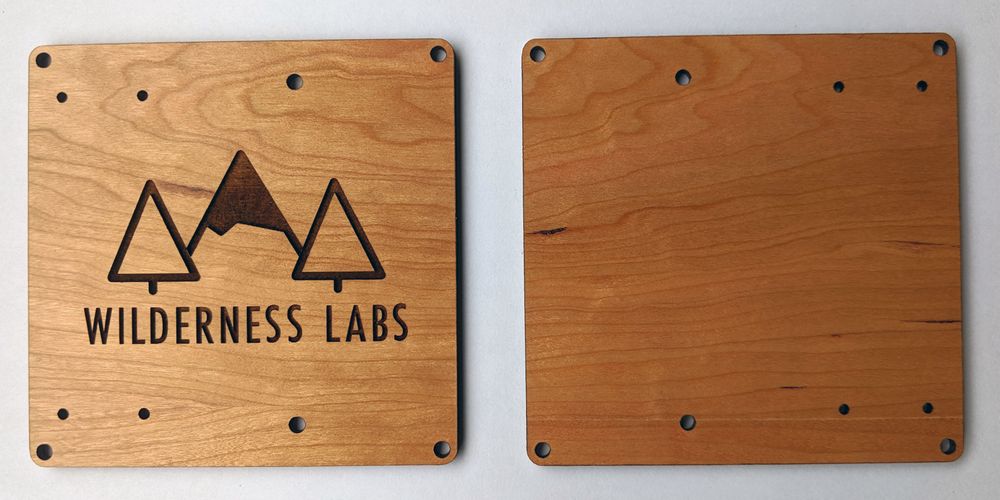
Step 1 - Remove protective cover on the wooden base protoboard
The Wilderness Labs prototype boards come with a protective skin cover to protect the surface from dents and scratches.

Peel the skin cover from the corners and remove the little bits in the logo and inside the letters. Your board should now look like this:
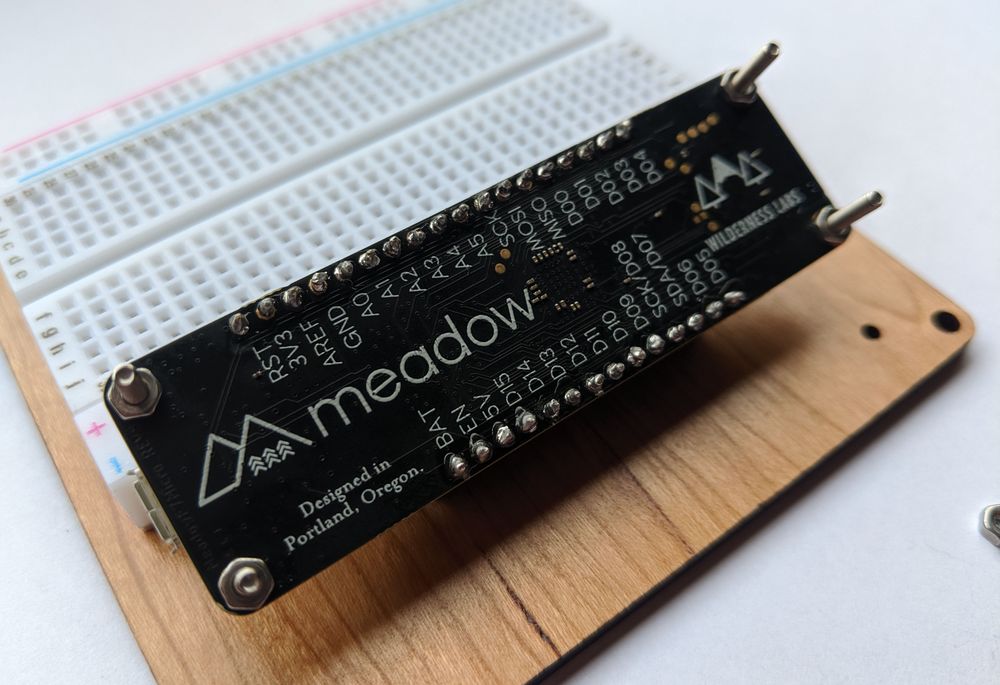
Step 2 - Solder Meadow header pins
Now solder the blue female header pins to the Meadow board.
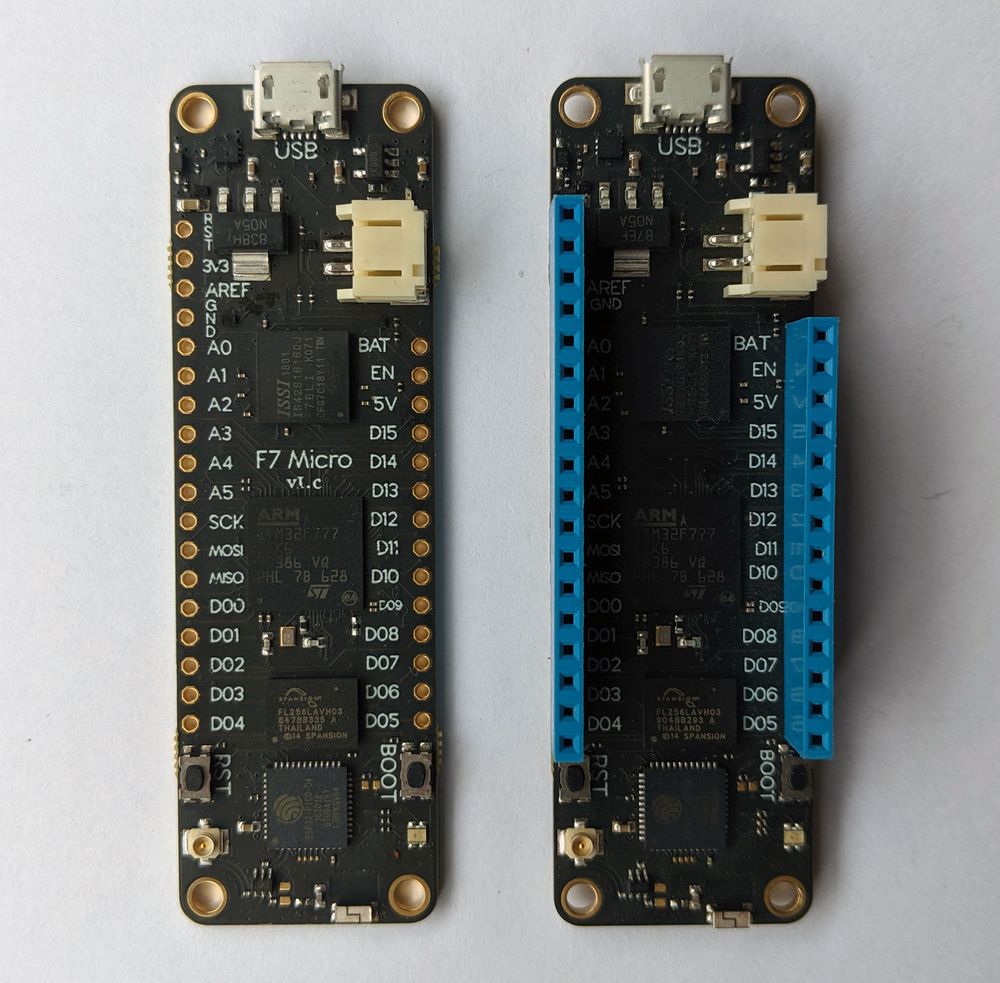
Check out the following video for instructions:
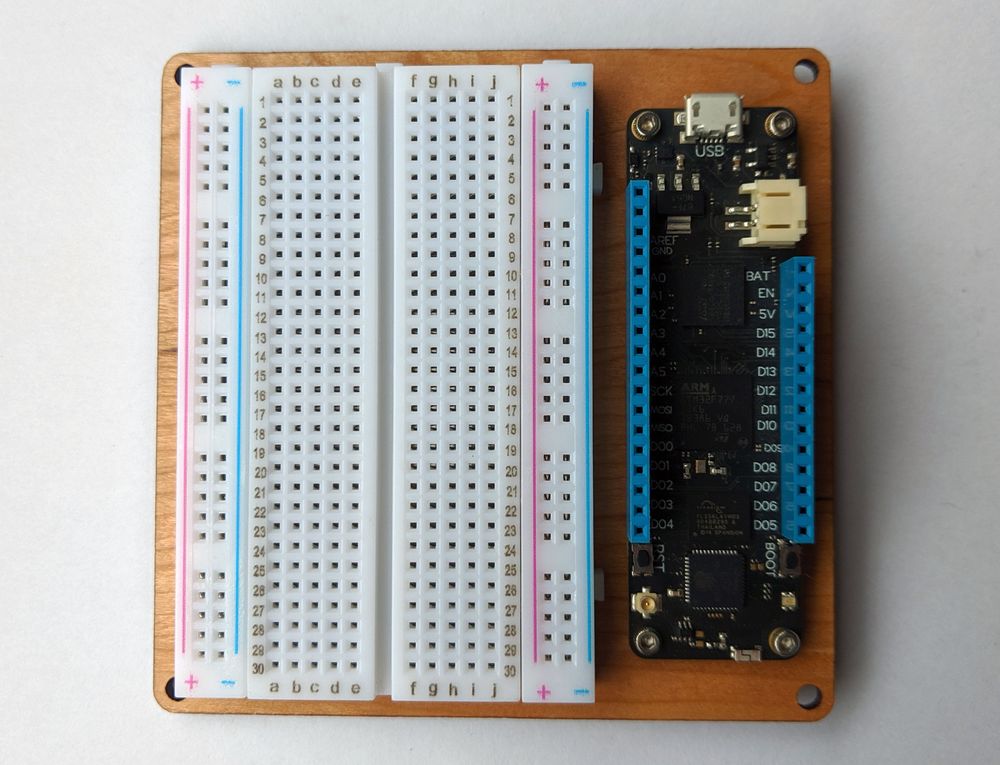
Step 3 - Place breadboard and Meadow to the base board
Meadow has battery connector on the right side of the device. For this reason, you have to place the breadboard on the left and Meadow on the right side of the protoboard. Make sure the breadboard is in the right orientation, and the four holes on the wooden board are on the right side.

Remove the plastic sticker cover under the breadboard and stick it to the protoboard as firm and straight as possible. If you plan to use the outer-most holes to mount your Meadow kit to something else, make sure to keep the holes clear with enough room to add screws or standoffs.
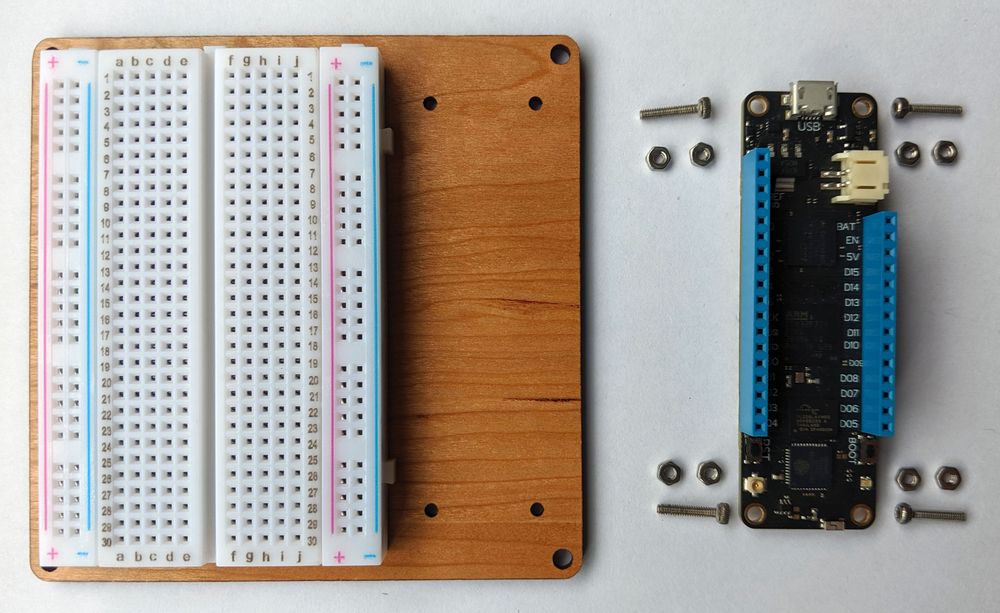
Put each screw in the corners on the Meadow board with one nut so when placing it on the base it will sit flat and the soldered header pins wont get in contact with the base.
Now you can finally fix Meadow through the protoboard and use the remaining 4 nuts to firmly hold them together.
Additionally, you could get metal or nylon fasteners so you screw them in the corners of the base board so it can sit flat on any surface.
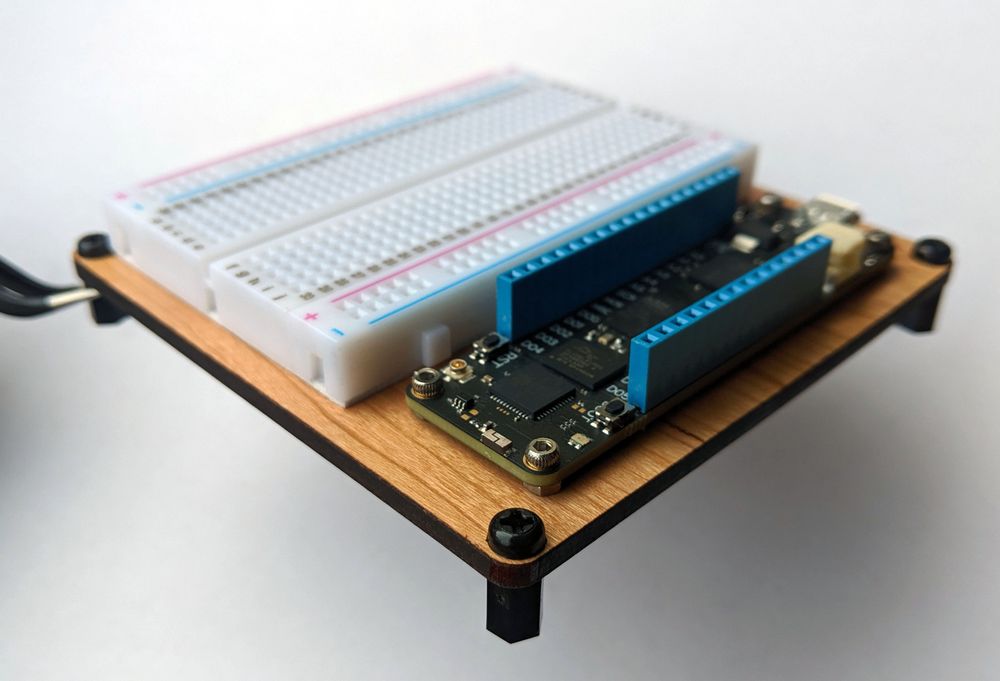
Congratulations, your Meadow developer kit assembled and now you're ready to test the Meadow board on the next section.